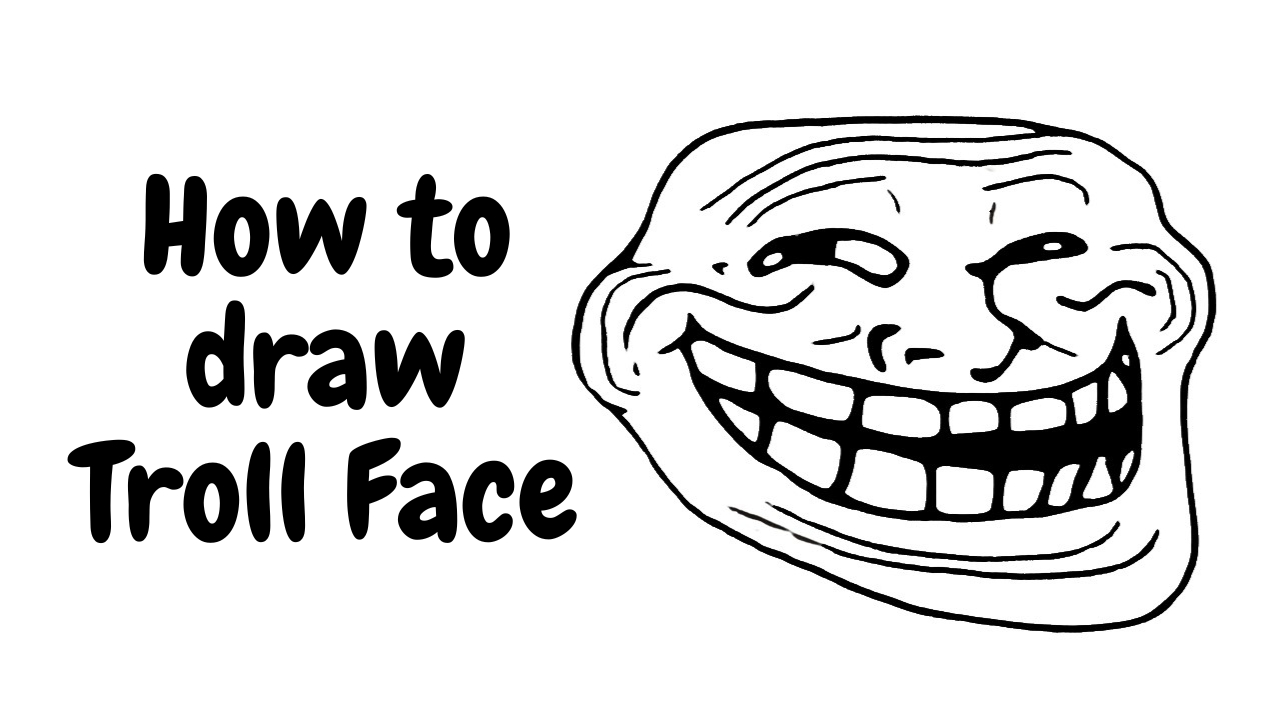
The Troll Face is a funny cartoon face with a big, sneaky smile. It was made in 2008 and is used online when someone tries to tease or prank others for fun. Today, in this guide, we will learn to draw a troll face in simple and easy steps.
People use troll faces to joke around, especially when they make others a little annoyed or frustrated on purpose. Along with basic information, we will teach you how to draw troll faces with step-by-step instructions.
Art Materials & Equipment
- Drawing Paper
- Colors of Your Choices
- Pencil
- Eraser
- Sharpener
- Marker
- Pen
Steps To Draw Troll Face
Follow our easy step-by-step guide to draw the iconic Troll Face, known for its internet meme fame. This simple tutorial makes it fun for kids and beginners to recreate the famous face with ease. Grab your pencils and follow along to create your very own masterpiece!

Step 1: Outline the Half Shape of The Head

Draw a loose, blob-like shape, slightly connecting the ear shape. The top should be rounded, and the chin area should be slightly squared with soft, irregular curves as shown in the image above.
Step 2: Define the Shape of The Head

Continuing from the right side, sketch the ear-like C-shape and connect the drawing with an oval shape to complete the shape of the head.
Step 3: Sketch The Right Eye With An Expression

Draw a small curved line on the upper left part of the face to mark the left eye. This should look like a small oval, but only the top curve is visible, as if with a flirty expression.
Step 4: Add the Second Eye

Draw a similar curved line on the right side, but make it slightly smaller to create as it is a partially closed eye. Ensure both eyes are placed close to the top of the head, maintaining symmetry between them despite the size difference.
Step 5: Draw the Smile

Create a wide smile starting from the left side of the face. Begin by drawing a long curve along the bottom half of the head, stretching from one side to the other as given in the picture above.
Step 6: Add Teeth To The Smile

Inside the mouth, draw a series of rectangular shapes. Start from the center of the mouth and spread outwards, leaving small gaps between each tooth. Make sure the teeth look square and slightly uneven. Use black color or shade the area with a pencil to add detail to the mouth.
Step 7: Sketch The Nose

Place the nose in the center of the face, just above the mouth. Add two small oval shapes on the bottom of the nose to represent the nostrils. Then, draw some curved lines extending from the nostrils up to the bridge to make the shape of the nose.
Step 8: Draw Winkles on The Forehead

Draw a few short horizontal lines above the eyes to emphasize the troll face’s expression. It somehow also looks like the wrinkles in the face.
Step 9: Add Crease on The Left Side

Sketch the small lines following the shape of the cheek to show the crease in the face. Adjust the lines to resemble the one shown in the image, as this will enhance the natural facial expression of the troll’s facial.
Step 10: Crease on The Right Side of the Face

Following the same step as above, draw some lines in the cheek for the crease. These lines should curve and give the face an exaggerated, mocking expression.
Step 11: Complete By Adding Final Facial Crease

Refine the horizontal lines in the troll’s chin to enhance the final facial creases and create a more defined appearance. Finally, this process will complete our drawing. If you have any problem with any steps, go through the picture we have drawn and refine your drawing. Erase any extra lines from your drawing and head towards the coloring process.
Coloring Troll Face
Today, we took a different approach while drawing the troll face, choosing not to add color to maintain its natural, iconic look as seen online. The black-and-white style keeps it simple and recognisable, just like the classic internet meme. But, if you’d like to add your personal touch, feel free to use colored pencils, markers, or any medium you prefer. You can experiment with shading or add subtle colors to enhance the details. To complete the look, you can also sketch the outline with a black marker and give Troll Face an even bolder look.
Our Masterpiece Is Ready
We have completed the troll face drawing by following these easy steps, and we hope you enjoyed the process as much as we did. The simple design and recognisable features make it a fun project for kids as well as beginners. Whether you followed along step by step or added your creative touch, we hope you’re happy with the final result.
If you have any comments, feedback, or suggestions, feel free to share them with us. Your input is valuable, and we always look forward to hearing from you. Thank you for joining us! Hope to see you again. Happy Drawing!


