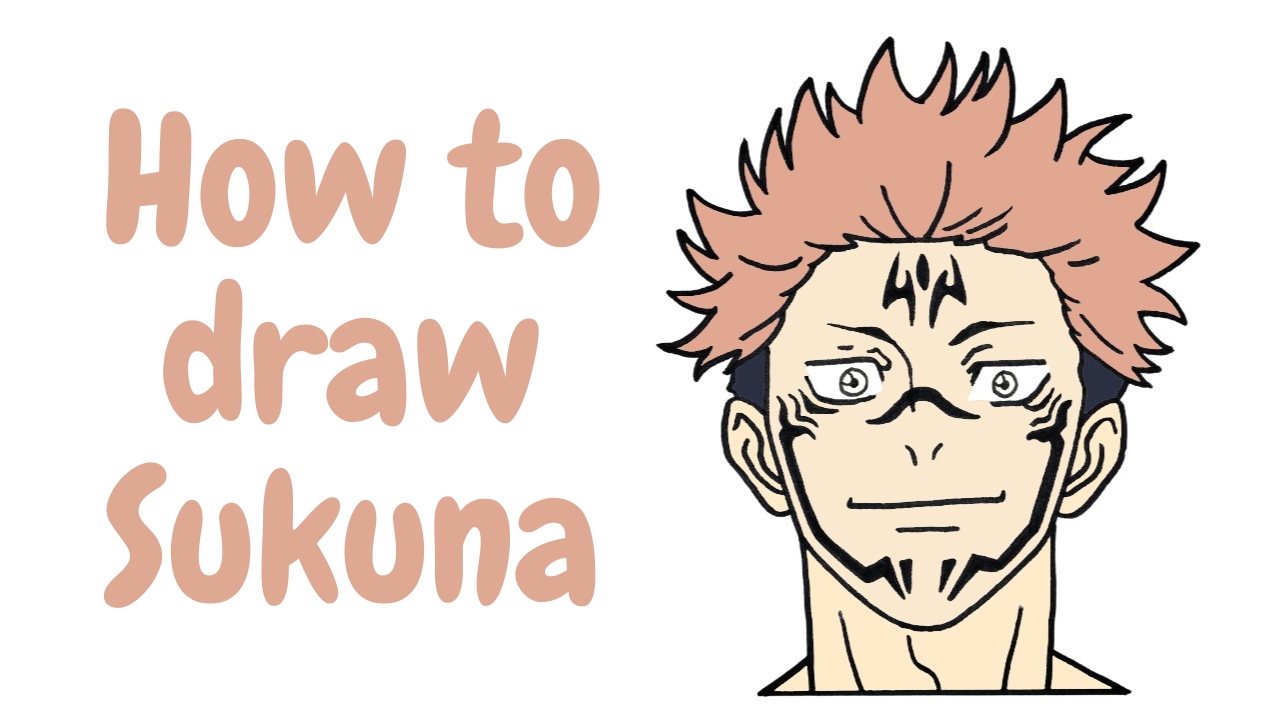
Sukuna is a powerful, ancient spirit from Jujutsu Kaisen. Despite his fearsome reputation and evil nature, he’s one of the strongest beings known as the King of Curses. In this tutorial, we will learn to draw Sukuna.
Sukuna is a tall and muscular man and a brilliant villain. At the end of this tutorial, you can sketch Sukuna by going through the provided steps. It will be fun to draw Sukuna.
Art Materials & Equipment
- Drawing Paper
- Colors of Your Choices
- Pencil
- Eraser
- Sharpener
- Marker
- Pen
Steps to Draw Sukuna
Today we are drawing Sukuna, a complex character with a mysterious past and incredible abilities. Here’s a brief preview of today’s tutorial. Please go through the instructions step by step to complete your sketching.

Step 1: Sketch Outline for Sukuna’s Head

Draw a U-shape structure like a horseshoe. Make the bottom part a little longer, and the top part wider. This will be the outline of Sukuna’s face.
Step 2: Sketch Ears of Sukuna

Draw two C-shapes on both sides of the U-shape. These will be Sukuna’s ears. Make sure they’re not perfectly round, but a little curved.
Step 3: Sketch Outline for Hair

Now let’s start sketching lines for the hair of Sukuna. For this draw a zig-zag line across his forehead from ear to ear.
Step 4: Sketch Zig-Zag Lines for the Hair to the Left

Sketch more zig-zag lines from left to right to make the hair of Sukuna and continue sketching lines above the middle of the forehead.
Step 5: Sketch More Zig-Zag Lines for the Hair to the Right

Continue sketching zig-zag lines up to the ear at the right with the completion of the outline of Sukuna’s hair.
Step 6: Add Short Lines on The Head

Sketch more short lines inside the zig-zag lines to make hair more detailed. Start sketching lines from left to right or vice versa. Add some lines to the ear region and some above the forehead.
Step 7: Sketch Lines for the Neck of Sukuna

To make the neck of Sukuna, sketch a vertical line from just below the ear at the left and repeat the same process for the other side from the right ear.
Step 8: Add Lines Below the Neck

sketch a short inclined line from the end of the previously drawn vertical line for a neck at the left and repeat the same process on the other side but in the opposite direction. Then, sketch a horizontal line from right to left to join both inclined lines.
Step 9: Sketch Lines on Neck

Sketch two diagonal lines going down from the sides of Sukuna’s face (the U-shape). They should start from near the bottom of the face and go down towards his neck. Now, draw a squiggly line between these two lines.
Step 10: Add Lines on the Ears

To define ears, sketch irregular lines inside both ears; one is a regular curve facing towards the face, and another irregular curve just above it.
Step 11: Draw Eyes

On the left, to draw an eye of Sukuna, sketch a short line from just above the ear’s level with a rounded ending to the right. Then just below it, sketch another line more rounded to the left.
Now, add a circle between the lines more to the right with another smaller circle inside it. Repeat the same process for the other eye but in the opposite direction.
Step 12: Outline the Nose

Draw two curved lines above Sukuna’s eyes. Make the line above the left eye a little longer and have it go down towards his nose. Draw small lines below these eyebrows. Finally, draw a curved line across the bridge of Sukuna’s nose for a tattoo.
Step 13: Complete Nose and Mouth of Sukuna

Sketch a straight line to the level of the lower end of the ears for making Sukuna’s mouth. Sketch one more shorter straight line below the previous one. For the nostrils, sketch two short lines just above the mouth.
Step 14: Sketch Mark on the Forehead of Sukuna

To make the mark of Sukuna on his forehead, sketch two 4 shaped structures both facing outward. Then add a small oval-shaped structure between them.
Step 15: Add Lines on the Face

Draw a squiggly line starting below Sukuna’s left eye and going down towards his chin. Add two small squiggly lines between the eye and the start of the first line. Finally, draw a short line at the end of the first line, where it meets the chin.
Now, do the same thing on the other side of Sukuna’s face, but draw the lines in the opposite direction. These lines will complete the tattoo on Sukuna’s face.
Coloring Sukuna
We have finished drawing Sukuna and moving to the coloring section. For coloring, we have chosen different colors. We are using Vibrant Pink for his Hair. Then for the shadowed area of hair, we are using grey. We are using pale color for his skin and black for marks on his forehead and cheek.
Color Details:
- Vibrant Pink
- Pale
- Grey
- Black

After coloring, we get a beautiful drawing of Sukuna. We have made it digitally but you can use pencil color.
Our Masterpiece is Ready
Finally, we drew Sukuna and colored him. We’ve tried to create an easy-to-follow tutorial, especially for kids and beginners.
This is a step-by-step lesson that will help you draw Sukuna with ease. Please feel free to forward this tutorial to your friends if you find it useful. If you find our guide useful, please leave a comment below.