
Kuromi is a fun and cheeky character known for her gothic look, jester hat, and signature pink skull. Although she’s part of the Hello Kitty world, she stands out with her bold personality and edgy style. Here, learn how to draw Kuromi, a fun and loving character.
We’ll guide you through drawing Kuromi step by step—perfect for beginners and fans alike. Drawing becomes enjoyable through structured guidance, and our lesson is divided into 13 steps to simplify each step to enjoy it fully. Let’s begin together!
Art Materials & Equipment
- Drawing Paper
- Colors
- Pencil
- Eraser
- Sharpener
- Marker
- Pen
- Compass (Optional)
- Rural (Optional)
Steps to Draw Kuromi
Here is a short preview of today’s today. This drawing guide is going to be super exciting, and even beginners or kids can enjoy creating this cool character on paper. So grab your pencil, eraser, and a blank sheet, and let’s jump into this fun art session.

Step 1: Start with the Head Shape
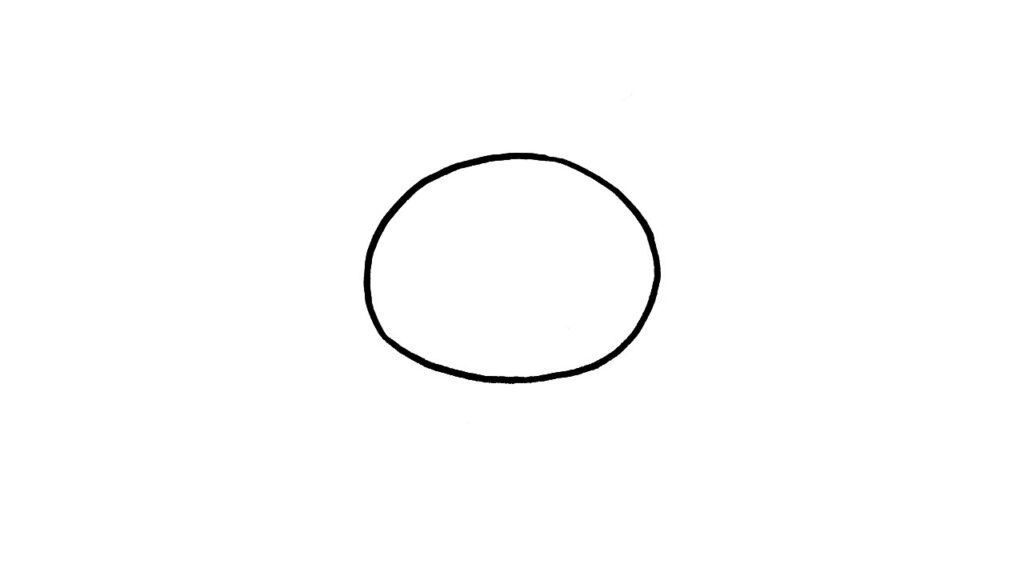
Draw a wide oval for Kuromi’s head. Keep the shape round and smooth, as this forms the base of the face. This step will make it easier to finish the drawing later.
Step 2: Add the Face Outline

Inside the head, draw Kuromi’s face shape like a curved “W” as shown in the image given. This represents her face peeking out from her hood.
Step 3: Draw the Left Hat Ear

Now, sketch large triangle shapes sticking out from the sides of the head to make her jester-style ears. Add a small circle on top to complete the shape.
Step 4: Sketch the Right Hat Ear

Following the same step, leave a certain shape, and on the right side, draw the large triangle with the circle on the top.
Step 5: Design the Neck Collar

Beneath the head, draw Kuromi’s neck ruffle—a jagged crown-like collar made of small pointed curves. This will later give her clothes a better look.
Step 6: Add Details

Add a small circle along the jagged edge of the ruffle for extra detail. This will give the characters a better look.
Step 7: Sketch the Right Leg

Start by sketching a small, rounded body just below the neck collar. Then, add a short U-shaped leg at the bottom of the body. The legs should be simple and slightly curved to give a natural look.
Step 8: Draw the left Leg

Following the same step above, sketch the left leg. Keep the leg short and slightly wide. Make sure both legs are equal in size and placed directly under her body. Make sure the body and legs are connected smoothly, just like shown in the image.
Step 9: Add the Right Arm

From each side of Kuromi’s body, draw short, curved arms extending outward. The arms should be simple and slightly bent to give a playful pose. Keep the ends rounded to match her cute cartoon style.
Step 10: Sketch the Left Arm

Following the same step to draw the right arm, sketch short and curved arms mirrored to the right arm. Make sure both arms are even and placed just below the head, as shown in the image.
Step 11: Draw the Tail

Add a small curled devil-like tail on her right side with a triangular tip. Make sure to match the image provided to give the character its iconic look.
Step 12: Sketch the Facial Features

Begin by drawing two large oval-shaped eyes spaced evenly apart on Kuromi’s face. Inside each eye, leave a highlight to make them look expressive. Add three short lines to the top of the eye to represent the eyelashes. Sketch the circle just below to represent the nose. Now, add a smile by drawing a simple triangle.
Step 13: Final Touches

Right in the center of Kuromi’s forehead, draw a small skull shape. Start with an oval or rounded top for the skull, then bring the lines down slightly and curve them outward to form the sides. At the bottom, create three tiny bumps to resemble the teeth of the skull. This cute skull is one of her most recognizable accessories, so be sure to place it right in the center.
This step will finally complete our drawing process. Hope you enjoy it. To move on to the coloring process, make sure your sketch is on point, erase some extra lines to make it clear, and jump into the coloring process.
Coloring The Kuromi
To bring your drawing to life, use dark grey for her jester hat, her iconic tail, and her ears. Keep the face area white while making the skull accessory pink and her eyes brown. Add a touch of light pink to her nose to enhance her expression. Also, for the details of the neck collar, add the same light pink shade to complete the coloring process.
Color Details:
- Dark Grey
- Pink
- Brown
- White

We have used basic colors; you can add a color of your own choice to make the drawing stand out. Pencil color is recommended to not mess up the sketch. If you want your drawing to make it clear and pop out, you can simply use a black marker to outline the sketch.
Your Character Is Ready
You’ve now drawn Kuromi step by step! With her cool style and bold attitude, Kuromi is super fun to draw. You can customize her look, pose, or even background to match your style.
We hope you enjoy each process. Share your thoughts with us, and don’t forget to be back with the new character collection. Happy drawing!