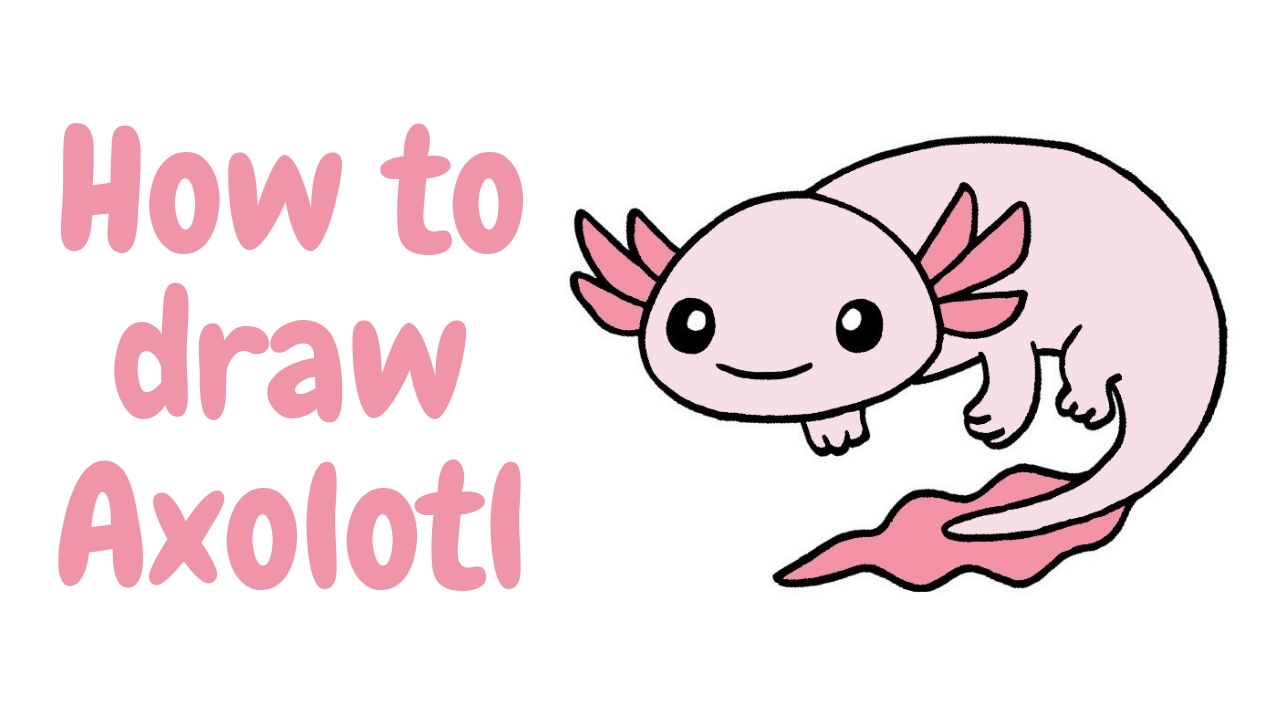
Axolotl is a pink, animated Mexican salamander often referred to as a “walking fish” that lives in water. In this tutorial, we’ll learn to draw Axolotl.
Unlike most salamanders that turn into frogs or toads, axolotls stay in their larval form even when they grow up. So they possess gills and fins throughout their lives. By the end of this Tutorial, you’ll be able to draw Axolotl on your own. Let’s get started.
Art Materials & Equipment
- Drawing Paper
- Colors of Your Choices
- Pencil
- Eraser
- Sharpener
- Marker
- Pen
Steps to Draw Axolotl
Axolotls have a remarkable ability to heal. They can regrow lost limbs, a unique trait among animals. These salamanders come in a range of colors, including pink, white, black, and green. They are carnivores, feeding on small creatures such as worms, insects, and even other axolotls.
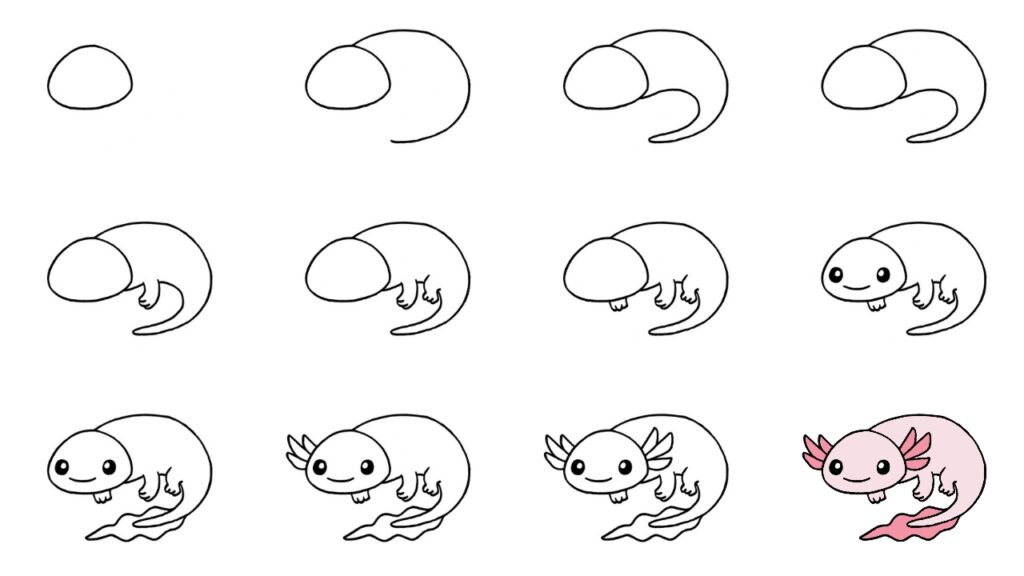
Watching Axolotl with children may be fun but it would be much better if we learn drawing together. So let’s learn drawing Axolotl. Here’s a brief preview of today’s tutorial. Please go through the instructions step by step to complete your sketching.

Step 1: Draw an Oval for the Head

Start drawing an Axolotl by sketching an oval-shaped structure to the left of the paper for its head.
Step 2: Outline the Body

Now to outline the body of Axolotl, sketch a curve facing left from the top right of the head around it and ending just below.
Step 3: Sketch Curve for Body

With alignment to the previous curve drawn in Step 3, sketch one smaller curve from the bottom right of the head. Then join the end with the earlier curve.
Step 4: Draw the Leg of the Axolotl

Now for the front leg of Axolotl, sketch two short slightly curved lines on the curve made in Step 3 parallel to each other just beside the head. Then add irregular curves between these curves.
Step 5: Draw the Next Leg

Similarly, sketch two more slightly curved lines like in Step 4 for the other leg of Axolotl and add irregular curves in between.
Step 6: Draw the Remaining Leg

Again for the other leg of Axolotl, sketch irregular curves below the head shorter in length as compared to other legs drawn in previous steps.
Step 7: Sketch Eyes and Mouth

Now for the eyes of Axolotl, draw circles and sketch a slightly curved horizontal line below the eyes from left to right or vice versa for the mouth.
Step 8: Sketch Wavy Structure to the Tail

Draw a wavy shape for making a long fin-like structure on the tail of the Axolotl which plays a key role in helping it swim efficiently.
Step 9: Sketch Gills on the Left of the Head

Sketch three leaf-like structures on the head of Axolotl at the left for the feathery external gills which are used for breathing underwater.
Step 10: Draw Gills on the Right of the Head

Again to the other side of Axolotl’s head also at the right, draw three leaf-like structures similar to Step 9 for the gills.
Step 11: Sketch Small Circles and Oval Shapes on the Body

Finally add small circles and oval-shaped structures which are spread over the body of Axolotl including the face, legs, and tail.
Coloring Axolotl
We are done with a picture of Axolotl and heading towards the coloring section. We will be using two different shades of pink for coloring Axolotl.
We will color the body of Axolotl with light pink while dark pink will be used on the gills and tail. Lastly, the pigmented part of it will be colored with whitish pink.
Color Details:
- Light Pink
- Dark Pink
- Whitish Pink

After coloring, we get a pink cute Axolotl. We had done it digitally but you can do it using pencil color or any other color of your choice.
Our Masterpiece is Ready
Finally, we finished drawing Axolotl and gave it color. We’ve tried to create an easy-to-follow tutorial, targeting kids and beginners.
This is how you can easily draw Axolotl with a step-by-step tutorial. If you are enjoying our tutorial, feel free to share it with your friends. Leave us comments if you find our tutorial helpful, and suggest a name if you have any requests or went through any difficulties while drawing it.


