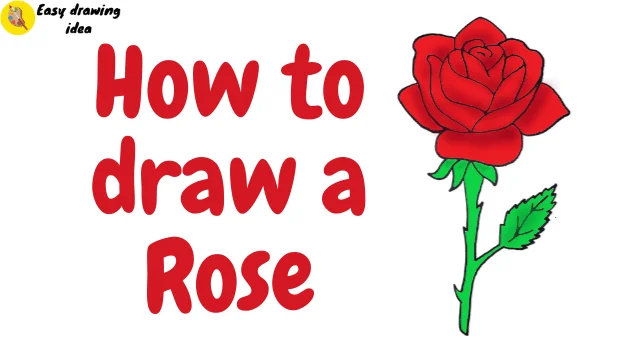
A rose is one of the most beautiful flowers often used on Valentine’s Day, and many people use roses to propose to their partners. In this tutorial, learn how you can draw a rose.
In this tutorial, we will provide step-by-step instructions for drawing a rose. And by the end of this tutorial, we will be able to draw a rose easily.
Art Materials & Equipment
- Drawing Paper
- Colors of Your Choices
- Pencil
- Eraser
- Sharpener
- Marker
- Pen
Video Tutorial
Steps To Draw A Rose
You can follow our video tutorial or proceed with the step-by-step instructions below. Here’s a brief preview of today’s tutorial. Follow the steps to draw a beautiful rose flower easily, one step at a time.

Step 1: Draw Petals

Begin by drawing the petals of the rose as shown in the image above. We are using a black marker to draw these outlines.
Step 2: Draw More Petals

Then, add more petals to our rose flower as shown in the picture above. We are initially sketching the rose flower outline only.
Step 3: Draw Inner Petals

Now, draw the inner petals of the rose as depicted in the image above. We can see the structure of our rose flower.
Step 4: Draw More Petals

Now, add more inner petals similar to what’s shown in the image above. We all know rose flower consists of a lot of layers of petals.
Step 5: Draw More Petals

Likewise, add more petals as shown in the image above. Now it looks like a realistic rose flower.
Step 6: Draw Sepals

Now, draw three pointed sepals following the image above. Start by sketching pointed two lines joining the petals of a flower and repeat the same step.
Step 7: Draw a Stem

Now draw a long stem of the rose as in the image above. Also don’t forget to sketch thorn as in the image above. And also leave a small blank on the stem for the leaf.
Step 8: Draw Leaf of Rose

Now, draw a small, beautiful leaf as shown in the image above. From the two end points of the stem sketch the leaf.
Coloring a Rose
After completing the rose drawing, let’s proceed to add color. We’ve selected some basic colors, but feel free to choose colors as you like.
We colored the petals in red and the stem and leaf in green. Additionally, we added some shading to the petals while coloring the rose.
Colour Details:
- Red
- Light Green

After coloring, we got a beautiful rose. You can use a pencil color (we made it digital).

Our Masterpiece is Ready
In the end, we’ve successfully drawn a rose and colored it beautifully. We hope you found our tutorial easy.
This is how you can easily draw a rose with our step-by-step for kids. If you found our tutorial helpful, please leave a comment below. Feel free to suggest a name if you have any requests or encounter any issues while drawing it.


