
Rats are medium-sized, long-tailed rodents found throughout the world. In this tutorial, we will learn how you can draw a rat.
In this tutorial, we will present step-by-step instructions for drawing a rat for kids. You can easily follow along and draw a rat in just 8 simple steps.
Art Materials & Equipment
- Drawing Paper
- Colors of Your Choices
- Pencil
- Eraser
- Sharpener
- Marker
- Pen
Video Tutorial
Steps To Draw A Rat
You can follow our video tutorial or the step-by-step guide below. Here’s a short demonstration of today’s tutorial. To draw a rat, follow the steps provided in the guide, one by one. Cats are the villains of the rats as they are used to control them on houses by so many people.

Step 1: Draw Circle Roughly

To begin, start by drawing a rough circle as depicted in the image above. Draw the circle freehand, using a pencil for this initial step.
Step 2: Draw a Curve

Next, draw a curved line that connects to the circle you drew in step 1 as shown in the image above. Use a pencil for this step to create a rough outline.
Step 3: Draw Two Circle

Now, draw two circles on both the right and left sides as roughly depicted in the image above. These circles will form part of the rat’s body. Use a pencil for this step to create a basic outline.
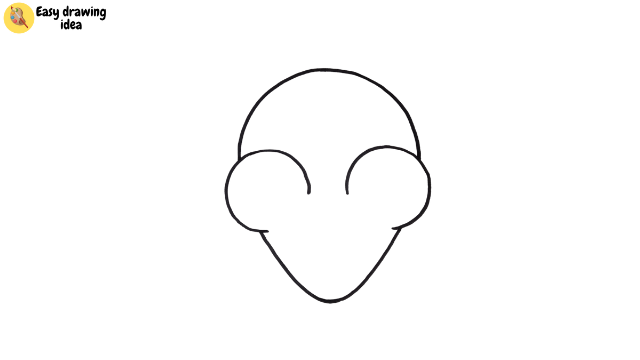
Step 4: Drawing an Outline

Now, outline the rat’s body as shown in the image above. And also outline the ears of the rat as in the image above. This step should be done fairly to add more definition to the rat’s shape. Use a marker or a pen to draw the fair outlines of the drawing.
Step 5: Erase Rough Part
Now, use an eraser to carefully remove the rough outlines, leaving the cleaner, more defined shape of the rat as shown in the image above.
Step 6: Draw Rat Tail

Next, draw a long pointed tail of the rat as illustrated in the image above. This tail is a defining characteristic of a rat’s appearance.
Step 7: Draw Rat’s Eyes

Next, draw the rat’s eyes on its face as demonstrated in the image above. Draw two bold black ovals with a small space inside the oval for sketching the eyes of a rat.
Step 8: Draw Rat Nose and Whisker

To complete the rat’s face, draw its nose and whiskers. For that draw a bold triangular heart-shaped nose and three pointed curves on each side of the whiskers as shown in the image above.
Coloring a Rat
Once you’ve finished drawing the rat, you can proceed to color it. We have selected some basic colors for this step, but feel free to use your own color choices to add a personal touch to your rat drawing.
Typically Rats are grey and black, we colored grey color to our rat.
Colour Details:
- Grey
- Black

After coloring, we get a realistic rat. You can use a pencil color (we made it digital).
Our Masterpiece is Ready
In conclusion, we have successfully drawn a cute rat and colored it beautifully. We hope you found our tutorial easy to follow and straightforward.
This step-by-step tutorial provides an easy method to draw a rat. If you found our tutorial helpful, please feel free to leave a comment below. Additionally, if you have any specific requests or encounter any issues while drawing, we welcome your feedback and suggestions.