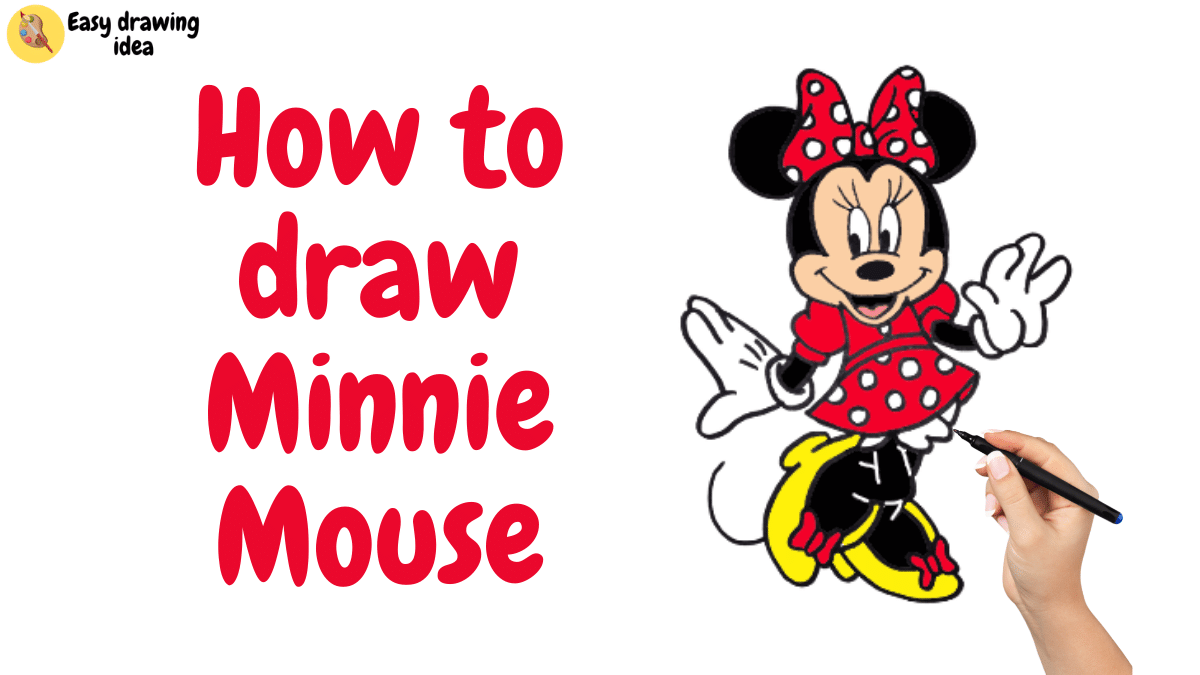
Minnie Mouse is a classic cartoon character who made her first appearance alongside Mickey Mouse in the short film “Steamboat Willie.” In this tutorial, we are learning how to draw a Minnie Mouse for kids.
In this tutorial, we have a step-by-step guide that will make it easier for kids to learn. We have attached some pictures for them to understand better. At the end of this article, you will be able to draw the cartoon character easily.
Art Materials & Equipment
- Drawing Paper
- Colors of Your Choices
- Pencil
- Eraser
- Sharpener
- Marker
- Pen
Steps To Draw A Minnie Mouse
Minnie Mouse is recognized by her happy character, polka-dot dresses, bows on her head, and larger shoes. Minnie Mouse is presented as the girlfriend of Mickey Mouse. Today, in this guide, we will draw the same characters you will see on TV, in games, or Disney Land.

Step 1: Make a Rough Circle

For Minnie’s head, outline a circle for reference, then add two tiny circles at the top of her head for the ears, as shown in the picture. Use a pencil to sketch all the rough parts.
Step 2: Draw Arms And Dress

Roughly sketch two parallel lines from the body side to make the arms of the character. Then, draw the skirt from just below the head. We are using a pencil to sketch these initial rough guides as we will erase them in further steps.
Step 3: Sketch The Legs

As shown in the picture, draw the legs like the character is making a pose. She is holding a posture with one leg up and the other on her back.
Step 4: Make A Bow

As Minnie’s character, create a bow on top of the head using black markers. Ensure that you have placed the bow exactly where it belongs. For the fair part, we are using a black marker or a pen to outline.
Step 5: Complete Sketching Face

Use markers and overlap the circle and the ears, as shown in the image above. Then, draw a little oval at the lower end of the head circle for the character’s snout. This will make it easier to correctly put the mouth, nose, and highlights on the face.
Step 6: Draw Details In Clothes

Sketch the details on the cloth with the marker, and add two lines between the skirt and shirt. Then draw sleeves to the dress like in the image. From below the sleeves of the dress, draw arms.
Step 7: Sketch The Right Hand

Lift Minnie’s right arm and extend it upward, bending at the elbow and pointing upward with her hand. Draw a circle for the hand, then add details about the glove.
Step 8: Draw The Left Hand

The left hand is pointing slightly upward, and the arm is extended somewhat downward. Draw a circle for the hand in the same way, adding details for the cuff and glove.
Step 9: Sketch The Legs

Outlining the shape of the leg, we made it above with the help of a marker. If you get confused with the guide, get help from the picture given.
Step 10: Outline The Shoes

Now, outline Minnie Mouse’s shoes as long, oval shapes with flat bottoms to represent the soles.
Step 11: Complete Drawing Shoes

Following the rough outline, complete making the shoes. Also, add rounded toe caps and tiny heels for a stylish look.
Step 12: Add Tail
Then, draw a thin, elongated tail that curves gently from the bottom of the body, as shown in the picture.
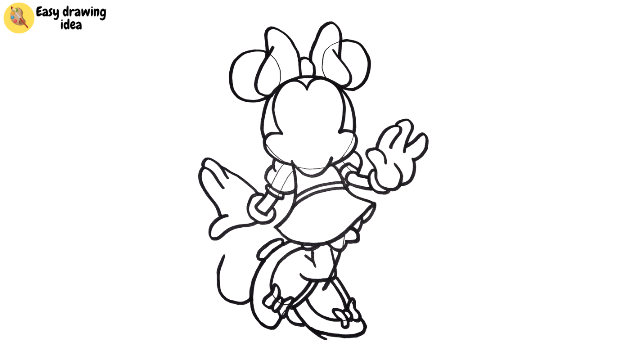
Step 13: Erase The Rough Lines

Carefully, remove the rough line we have drawn to make our drawing neat and clean. Erasing the rough line will help us add details to our drawing.
Step 14: Add Facial Features

Sketch big, oval eyes with the pupils on the top side. Just below the eyes, place a small, visible oval for the nose. Sketch the pupils, and nose black with the marker. Finish her charming appearance with a broad, curving smile and defined eyelashes.
Step 15: Finish With Details on the Dress

Finally, add the finishing touches by evenly spacing polka dots around. Also, draw three curved lines on the back of each hand that represent typical glove creases.
Coloring A Minnie Mouse
After finishing the drawing, we wanted to add some colors to make it more enjoyable. Here, we have used basic colors, like the real cartoon character.
Color Details:
- Red
- Yellow
- Cream
- Black
- Light Pink
We have chosen to color the same as the character we see online. We have used red in the bow on her head, and the shoes, and we have completed adding red to her dress. A yellow color has been used for the shoes. You can see cream on the face of the character and light pink on the tongue.

Our beautiful Minnie Mouse is ready with a smiley face. We hope you can draw a Minnie Mouse with our easy steps.
Our Final Artwork Is Ready
This is how we can draw a Minnie Mouse step-by-step. We hope you like the process of both sketching and coloring.
This tutorial is for both beginners and experienced artists. Share your experience or any feedback with us. We value your input, and we hope to see you again.