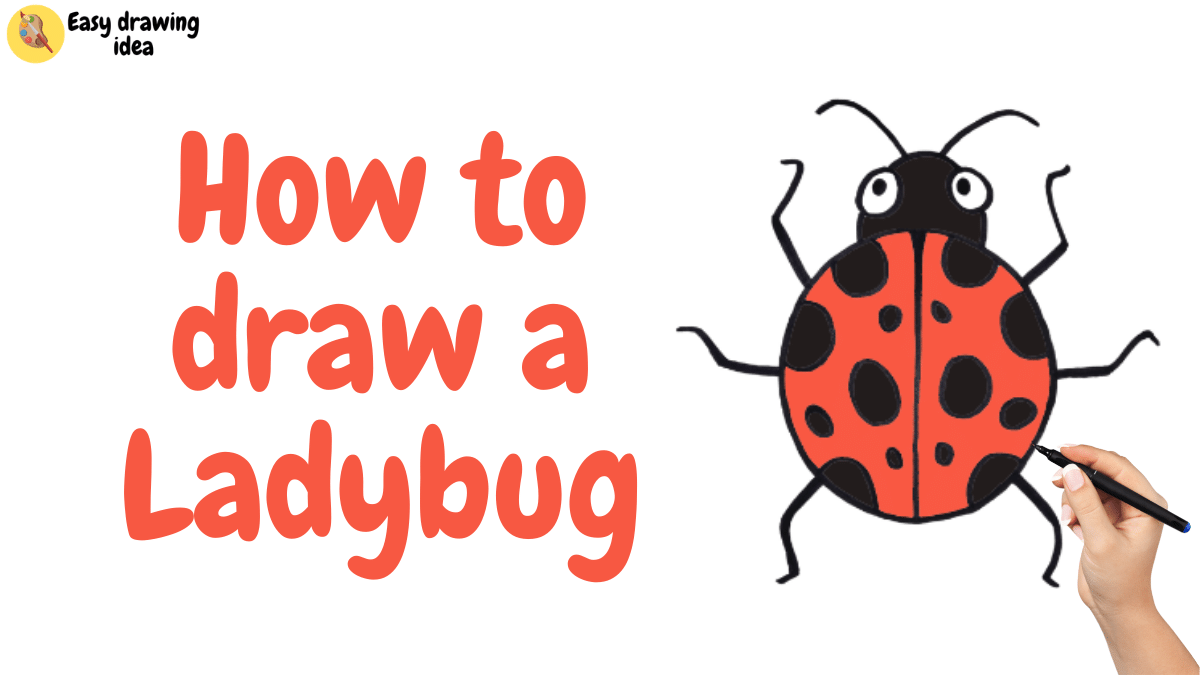
Ladybugs are a family of small beetles with around 5,000 species. They are also known as ladybird beetles or lady beetles. In this tutorial, we are learning how you can draw a ladybug.
In this tutorial, we will show you a step-by-step guide for drawing a ladybug. This tutorial is especially for kids and beginners. Ladybugs are beautiful insects that come in many colors and can fly.
Art Materials & Equipment
- Drawing Paper
- Colors of Your Choices
- Pencil
- Eraser
- Sharpener
- Marker
- Pen
Video Tutorial
Steps To Draw A Ladybug
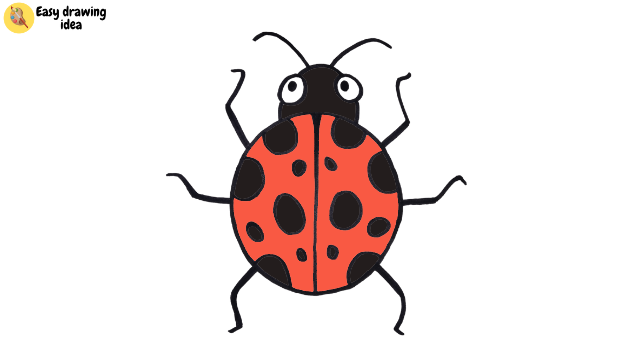
You can follow our video tutorial also. You can see the short preview of today’s tutorial in the image below. Follow the detailed stepwise guide below to draw a Ladybug.

Step 1: Draw a Circle

We’ll begin by drawing a perfect circle as shown in the image above. The circle represent the body of the ladybug. You can use a compass or any circular object to draw this. We prefer to use a pen or black marker to outline the drawing. This circle will be the body of the ladybug.
Step 2: Draw Ladybug Head

Now, draw three lines at the top of the circle, leaving a bit of space for the head of the ladybug as depicted in the drawing above.
Step 3: Draw Ladybug Eyes

Then, draw two small circles inside the gap that we left in step 2 for the eyes of the ladybug as shown in the image above.
Step 4: Sketch Ladybug Legs

Now, draw three legs of the ladybug on the right side as shown in the image above. Start by sketching a small line and bend at the end.
Step 5: Draw Remaining Legs

Now, draw another three legs of the ladybug on the left side as shown in the image above. Start by sketching a small line and bend at the end.
Step 6: Sketch Ladybug Antenna

After that, draw antennas at the top of the head of the ladybug. In the big circle or the body of the ladybug, draw a straight line in the middle for the elytra as shown in the drawing above.
Step 7: Draw Spots

Lastly, draw small circles for the eyes as shown in the drawing. Inside the elytra, draw small circles all over for the ladybug spots as depicted in the drawing above. We haven’t drawn wings as wings are inside of elytra. You could modify the drawing if you wish to draw wings too.
Coloring a Ladybug
After completing the ladybug drawing, we can proceed to color it. For coloring, we have chosen some basic colors. You can fill the color according to your preference.
We used black color for the head and spots on the body of the ladybug. For the remaining part, we used orange color.
Colour Details:
- Black
- Orange
After coloring, we get a cute ladybug. You can use a pencil color (We made it digital).
Our Masterpiece is Ready
Finally, we drew a cute ladybug and colored it beautifully. I hope you find our tutorial easy and simple.
This is a simple tutorial on drawing a ladybug. Feel free to comment below if you find our tutorial helpful. If you have any requests or encounter difficulties while drawing, please comment below.