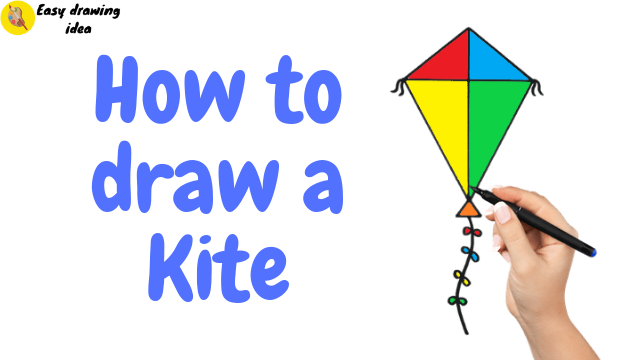
A kite is a flying toy that is made up of a light frame covered with cloth, paper, or plastic. The kite is flown using a long string. Today, we’ll learn how you can draw a kite for kids.
In this tutorial, we will show you step by step process of drawing a kite. Kites are mostly filed in Nepal, and India. Flying a kite is fun but drawing a kite will be more fun for us.
Art Materials & Equipment
- Drawing Paper
- Colors of Your Choices
- Pencil
- Eraser
- Sharpener
- Marker
- Pen
Video Tutorial
Steps To Draw A Kite
Kite is specially flown on the Dashain festival in Nepal and the Dashara festival in India. Here is a short preview of today’s tutorial. You even can follow our video tutorial above. Follow the steps below to easily draw a kite step by step.
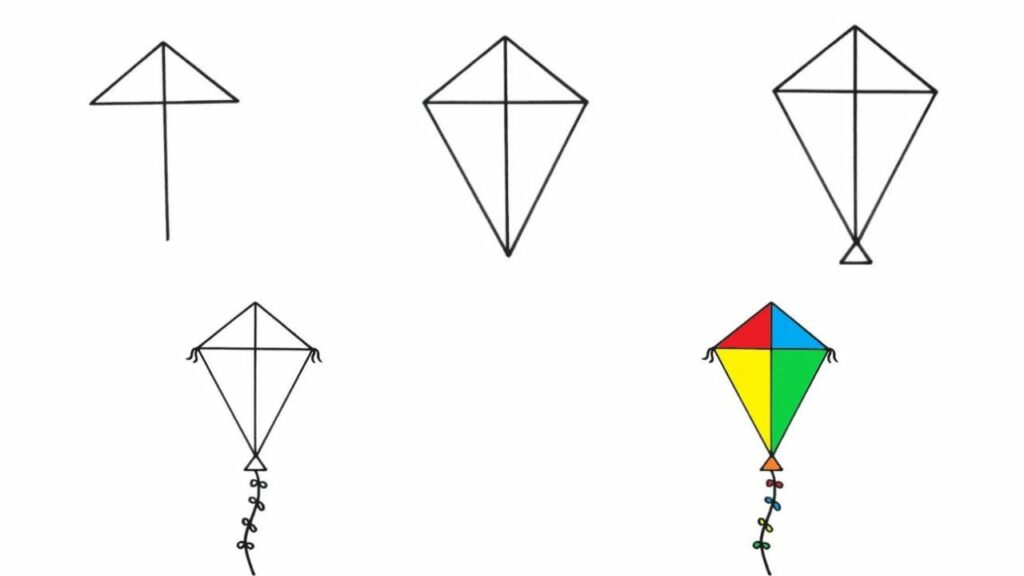
Step 1: Draw a Triangle and Line
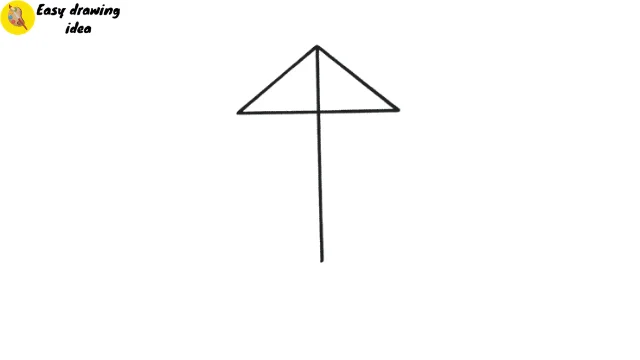
Draw a perfect triangle as in the image above. You can even use a ruler to draw a triangle and make a straight line from the center of the triangle as shown in the image above.
Step 2: Draw Rhombus Shape
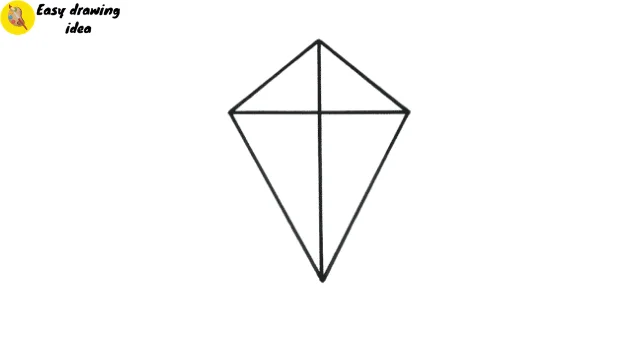
Next, draw two more lines touching the line at the center to make a rhombus shape as in the picture above.
Step 3: Draw Kite Tail
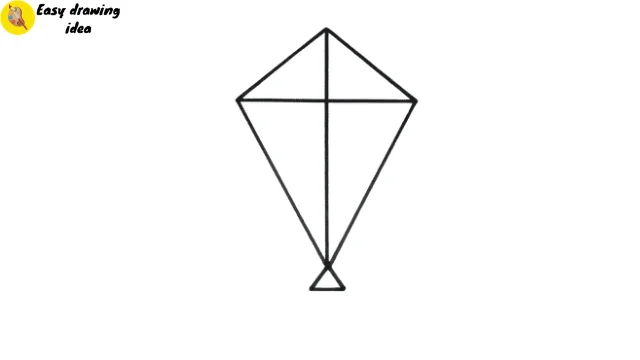
Now draw a small triangular tail of a kite as in the image above.
Step 4: Draw Short Tails
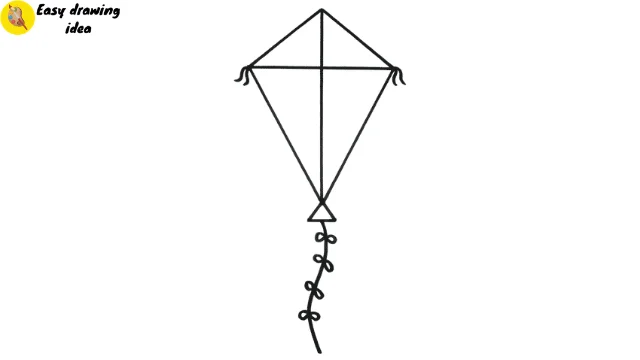
Similarly, sketch a strip or line for making the long tail of a kite and attach short ovals to make short tails on the kite as in the image above.
Colouring a Kite
Once you’ve finished drawing the kite, it’s time to add some color. We’ve selected basic colors for this, but feel free to choose your own.
We colored the top part of the kite in red and blue, while the lower part is yellow and green. The tail of the kite is orange.
Colour Details:
- Red
- Blue
- Yellow
- Green
- Orange
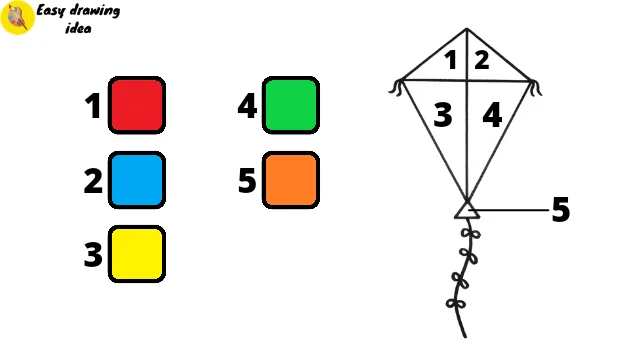
Final Image Of a Kite
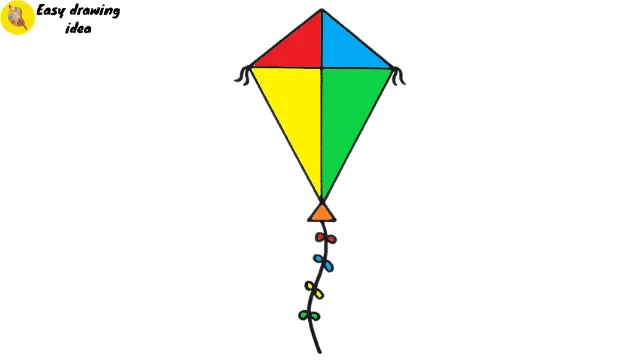
After coloring, we get a beautiful kite. You can use a pencil color (we made it digital).
Our Masterpiece is Ready
To sum it up, we’ve drawn a colorful kite. We hope you found our tutorial straightforward and enjoyable.
That’s how you can easily draw a kite with our step-by-step. Leave a comment below if you found our tutorial helpful. Feel free to suggest ‘NAME’ if you have any requests or encounter any challenges while drawing.


