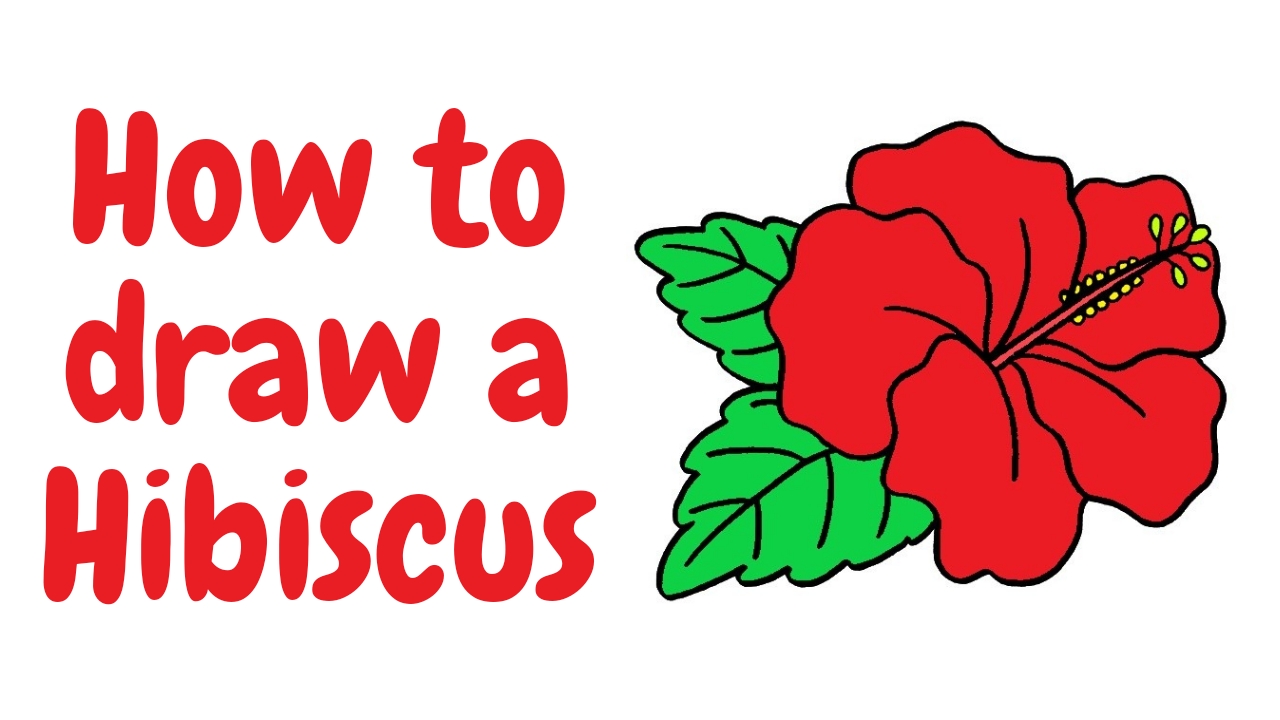
The Hibiscus Flower is a pretty flower with large eye-catching petals found in different colors like red, pink, yellow, and white. Today in this tutorial we will learn to draw a Hibiscus Flower.
At the end of this tutorial, you can sketch a Hibiscus Flower by going through the provided steps. It will be fun to draw Hibiscus Flower.
Art Materials & Equipment
- Drawing Paper
- Colors of Your Choices
- Pencil
- Eraser
- Sharpener
- Marker
- Pen
Steps to Draw a Hibiscus Flower
A Garden full of colorful flowers can enhance the garden’s beauty. Hibiscus with large, eye-catching petals that grow in warm places not only enhance the beauty of the garden but also carry health benefits. As it’s large, it can be easy to teach about the parts of flowers to children.
So while teaching children about flowers, let’s learn to draw Hibiscus flowers together. Here’s a brief preview of today’s tutorial. Please go through the instructions step by step to complete your sketching.

Step 1: Sketch Style of Hibiscus Flower

Start with the flower’s gynoecium style by sketching a short line moving upward that is inclined to the right in the middle of the paper. Again, sketch a line from the end of the previous line parallel to it moving downward.
Step 2: Sketch the Petal of the Flower

For the flower petal, from the lower end of the style, sketch an irregular curve moving downward and returning towards the style forming an irregular half-c-shaped structure.
Step 3: Add the Second Petal of the Flower

Sketch another irregular curve from another lower end of the style up to the end of the previously drawn petal in Step 2. From that point, sketch an irregular curve moving upward, similar to the curve drawn for the previous petal.
Step 4: Sketch the Third Petal of the Flower

For the third petal, sketch an irregular curve from the upper part of the petal drawn in the second step moving to the style of the Hibiscus flower.
Step 5: Sketch the Fourth Petal of the Hibiscus Flower

Draw one more petal just above the petal drawn in Step 4, starting from the upper right of the petal to the style of the Hibiscus flower.
Step 6: Draw Stigma on The Style of Flower

To draw another part of the gynoecium i.e.; the stigma, sketch small straight lines on the top of the style and add small oval-shaped structures to the lines.
Step 7: Sketch Small Circles for Anther of Flower

To make the anther of the flower, draw small circles just below the stigma on both sides of the style of the flower.
Step 8: Draw the Fifth Petal of the Hibiscus Flower

For drawing the fifth petal of the Hibiscus flower, sketch an irregular curve from the right of the petal drawn in Step 5 to petal drawn in Step 3.
Step 9: Sketch the Leaf of the Flower

For the leaf of Hibiscus, draw an irregular curve from the third petal moving downward. Again, an irregular curve from the first petal towards the left where the ends of both curves meet each other on the left.
Step 10: Draw the Second Leaf of the Flower

Draw one more leaf on the third petal of the Hibiscus where the tip of the leaf faces to the left just above the leaf drawn in Step 9.
Step 11: Define Petals With Curves

To make the flower’s petals more detailed, sketch the curve in the base of the petal from the style of the flower and repeat in every petal of the flower.
Step 12: Sketch Midrib and Veins for Leaves

Sketch a line at the middle of the leaf for the midrib and draw short lines from the midrib towards the margin for the veins of the leaf. Repeat the same steps for another leaf.
Coloring a Hibiscus Flower
We have finished drawing the Hibiscus Flower and moving to the coloring section. For coloring, we have chosen different colors. We are making a red Hibiscus Flower so, we are using red for petals, green for leaves, and yellow for the stigma and anther of the Hibiscus Flower.
Color Details:
- Red
- Green
- Yellow

After coloring, we get a beautiful drawing of the Hibiscus Flower. We have made it digitally but you can use pencil color.
Our Masterpiece is Ready
Finally, we drew a Hibiscus Flower and colored them. We’ve tried to create an easy-to-follow tutorial, especially for kids and beginners.
This is how you can easily draw a Hibiscus Flower with a step-by-step tutorial. If you are enjoying our tutorial, feel free to share it with your friends. Comment below if you find our tutorial helpful, and suggest a name if you have any requests or encounter any difficulties while drawing it


