
A hamster is a small, cute animal that people often keep as pets. It has a round body, tiny ears, and a short tail. Hamsters like to run, dig, and store food in their cheeks. Today, we will learn to draw a hamster in simple steps.
Hamsters are active mostly at night. Many people love hamsters because they are easy to care for and don’t need much space, making them perfect pets for homes and apartments. In this tutorial, we will learn to draw a cute hamster for kids. Let’s start.
Art Materials & Equipment
- Drawing Paper
- Colors of Your Choices
- Pencil
- Eraser
- Sharpener
- Marker
- Pen
Steps To Draw A Hamster
Before you start drawing, here’s a quick guide to help you. Make sure to follow each step carefully for the best results, and soon you’ll have a cute hamster ready!

Step 1: Outline Hamster Body
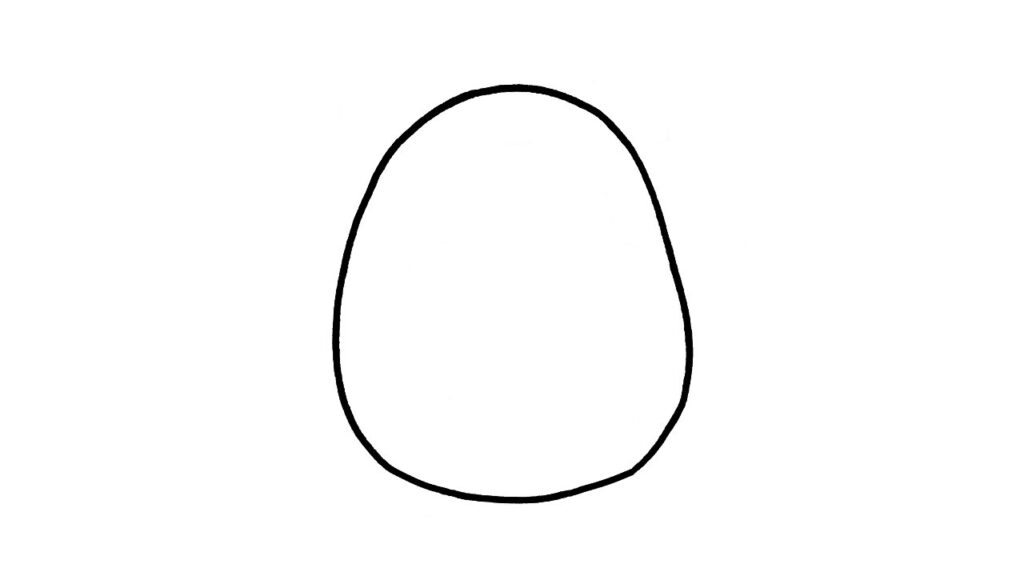
Start by sketching a rough oval for the body of a hamster. We are using a marker for a clean look but for beginners we prefer pencil.
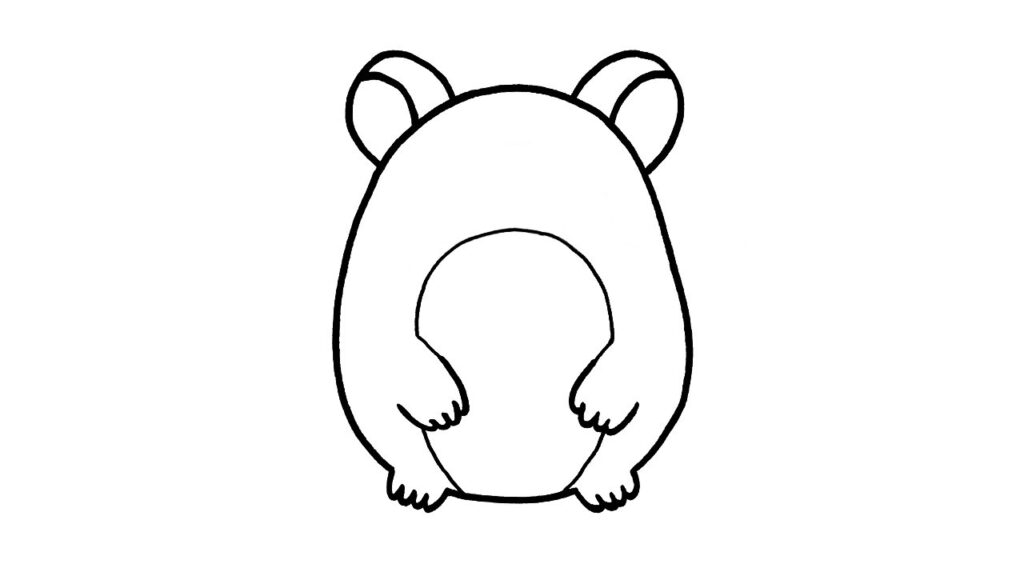
Step 2: Draw Hamster Feet
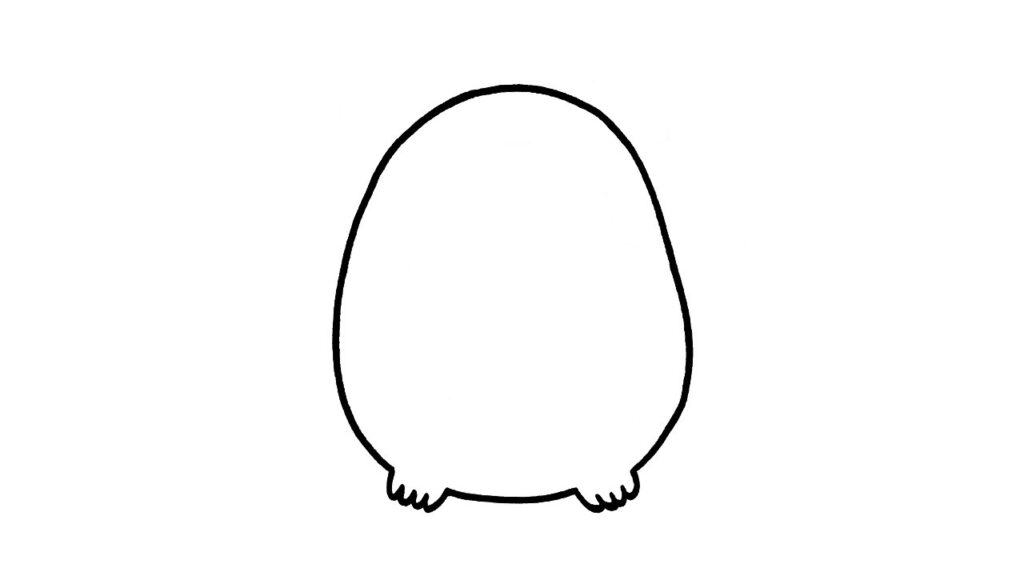
Next, at the bottom of our oval just erase a small part on both the right and left sides and draw a small ” w” shape for the feet of our hamster. We are drawing a cute hamster standing and looking at us.
Step 3: Sketch the Ears
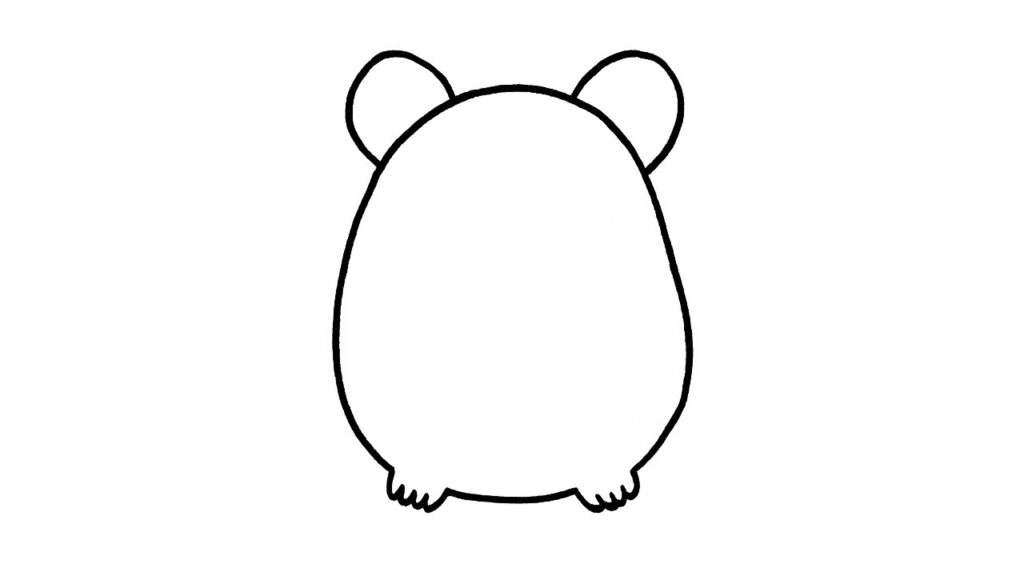
Then, sketch the oval shape on both the right and left sides of the cute hamster for the ears.
Step 4: Draw Left Foot
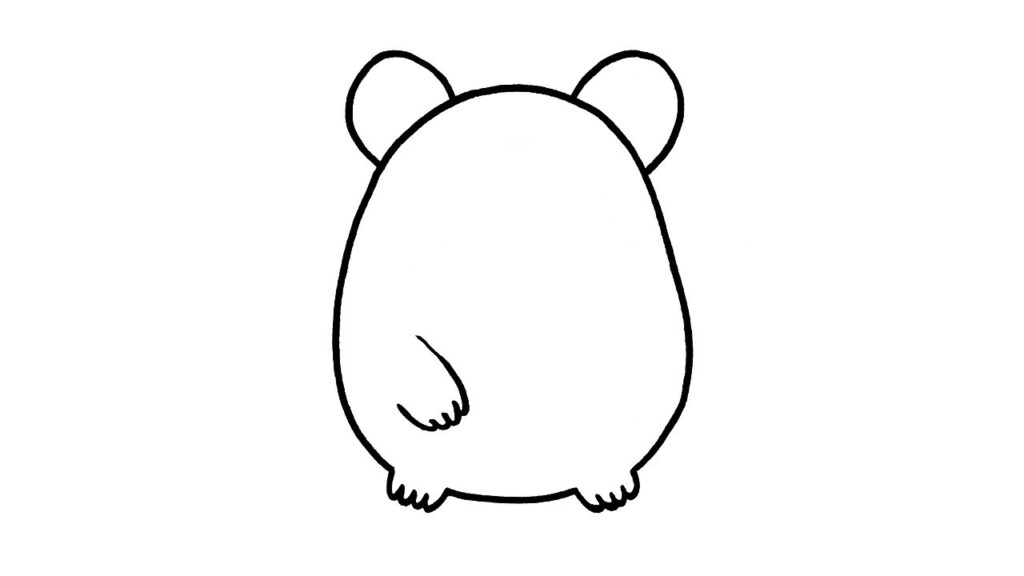
Now on the left side draw two lines and join them with a small “w” shape for our hamster’s left leg.
Step 5: Draw Hemster Right Leg

Similarly, draw two lines on the right side and join them with a small “w” shape to complete the right foot of our hamster.
Step 6: Complete Ears

Now, add another curved line at the centre of the ears to complete our hamster ears.
Step 7: Sketch The Belly Of Hamster
Now, draw an oval shape in between the feet of our hamster to represent the belly of our cute hamster. We are having a lot of fun drawing our cute little hamster.
Step 8: Complete Head

Then, draw a curve at the top of the head in between two ears to complete the head of our hamster.
Step 9: Draw Hamster Eyes

Now, sketch two small circles for the eyes of our hamster and fill them with black color for a realistic look.
Step 10: Create Nose & Mouth

Then, draw a small oval and fill it with black or fill it with your pencil for the nose and from the nose draw to small curved line in the opposite direction to represent the mouth of our hamster.
Step 11: Add Whisker

Now add two curve line on the left side of our hamster for the whisker and similarly draw another two line on the right side of our hamster for the whisker. Finally, our cute hamster is ready, we enjoy a lot on this in this tutorial and we hope you also have a fun on this tutorial.
Coloring a Hamster
After finishing the drawing, we wanted to add some colors that would bring it to life and make it more enjoyable. Here, we have used very basic colors; if you want to add a different set of colors, you can fill it with your choice.
Firstly, we color the chole boy with light orange as a fur and the remaining part is filled with cream color.
Color Details:
- Light Orange
- Cream

Our cute hamster is ready with a smiley face. Wow, it’s very cute. We colored it digitally but you can color it using a pencil color or water color.
Our Final Artwork Is Ready
We drew a cute hamster easily in 11 steps and colored it too. We have a lot of fun on each step sketching the hamster.
This tutorial is for both beginners and experienced artists. Share your experience or any feedback with us. Comment below if you have any doubts in this tutorial.