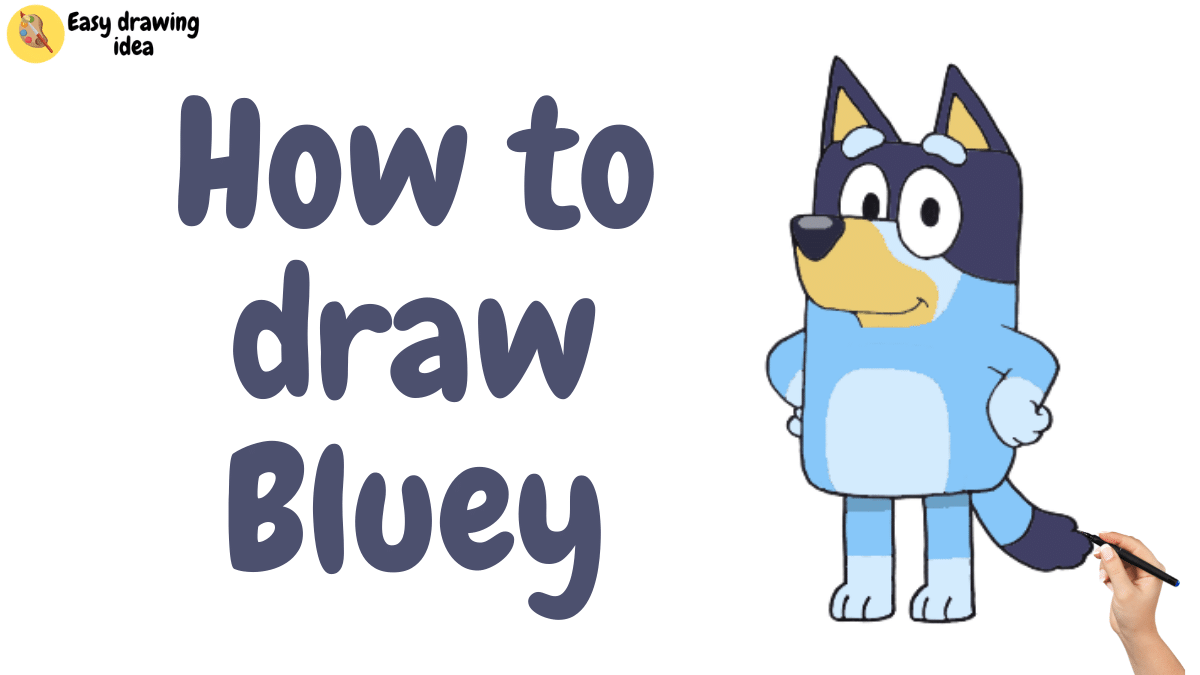
Bluey is one of the most popular cartoon characters of the bluey series on Disney+. In today’s tutorial, we are going to learn how you can draw a cute bluey step by step, and after drawing we are going to color it.
In this tutorial, we’ll guide you through a step-by-step process for drawing Bluey for kids and beginners. Follow us through 9 easy steps to create your own Bluey.
Art Materials & Equipment
- Drawing Paper
- Colors of Your Choices
- Pencil
- Eraser
- Sharpener
- Marker
- Pen
Video Tutorial
Steps To Draw A Bluey
We also have a video tutorial, you can either go with our video tutorial or follow the detailed instructions below. You can see the short preview of today’s tutorial in the image below.

Step 1: Sketch Rough Reference Lines

To begin, sketch a rough outline of Bluey body. Use a pencil to draw a vertical rectangle that is narrow at the top and wider at the bottom as shown in the image above. This rough sketch will serve as the initial guide for drawing Bluey body.
Step 2: Outline Bluey Body

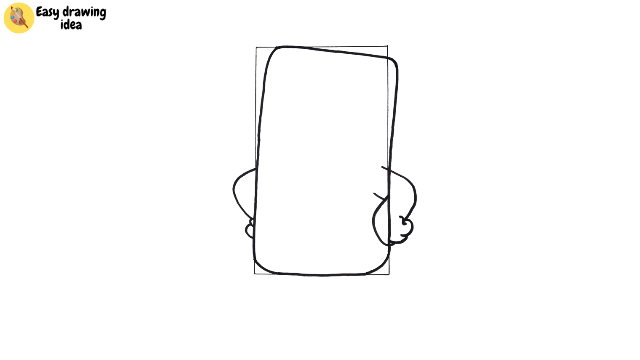
Now, referring to the rough sketch from Step 1, draw a body slightly rotated at a right angle as shown in the image above.
Step 3: Draw Bluey Hands

Now, draw Bluey hands on both the left and right sides with fingers attached to the body as shown in the image above.
Step 4: Draw Bluey Legs

Similarly, draw two legs of Bluey with toes as shown in the image above. Start by sketching two parallel lines for the leg and repeat the same step to sketch another leg. Then join these lines by curve and add small lines inside of it to sketch the foot of our cute bluey.
Step 5: Draw Bluey Tail

As Bluey is a puppy, it has a tail. Draw Bluey’s tail which is attached to its body as shown in the image above.
Step 6: Draw Ears and Eyebrows

Now, draw the triangular pointed ears and curved eyebrows of Bluey as shown in the image above.
Step 7: Draw Nose and Mouth

Then, draw the pointed nose and curved mouth of Bluey as shown in the image above. We are almost getting the character look.
Step 8: Draw Bluey Eyes

After that, draw the circular eyes of Bluey as shown in the image above. We complete all the facial structures of our bluey.
Step 9: Erase Rough Part

To complete our drawing, erase all rough parts that were drawn for reference as shown in the image above. Finally, we completed the drawing of Bluey. Let’s move on to coloring.
Coloring a Bluey
After completing the drawing of Bluey, let’s proceed to color it. For coloring, we have selected some basic colors, and you can choose colors according to your preference as well. We used a variety of colors to bring Bluey to life.
We use light blue to color Bluey’s body, while opting for black to shade its nose and facial features. Additionally, we applied black to Bluey’s tail and eyes. The ears and mouth were colored with light yellow, and a super light blue was used for the legs, eyebrows, and belly of our Bluey.
Colour Details:
- Light Blue
- Light Yellow
- Blue
- Black

After coloring, we get realistic bluey. You can use a pencil color (we made it digital).
Our Masterpiece is Ready
Finally, we’ve successfully drawn a charming Bluey and adorned it with vibrant colors. We hope you loved our tutorial.
This is how you can you can easily draw a bluey with a stepwise tutorial. Comment below if you find our tutorial helpful and suggest “NAME” if you have any requests or you have any problems while drawing it.


