
Bats are flying mammals with fur-covered bodies, and they are warm-blooded animals. In this tutorial, we are learning how you can draw a bat.
In this tutorial, we will show you a step-by-step guide for drawing a bat. Follow the steps to create your drawing. It is more fun to draw a bat, especially for kids.
Art Materials & Equipment
- Drawing Paper
- Colors of Your Choices
- Pencil
- Eraser
- Sharpener
- Marker
- Pen
Video Tutorial
Steps To Draw A Bat
You can follow the video tutorial or use the step-by-step guide below. Here is a brief demonstration of today’s tutorial. Follow the instructions below to easily draw a bat step by step.
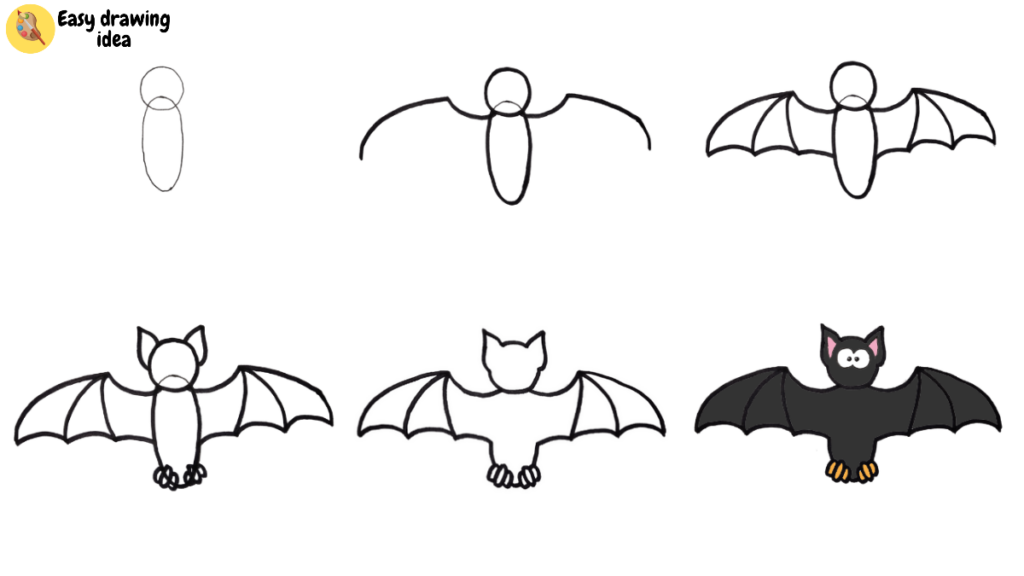
Step 1: Draw Rough Outlines

We’ll begin by drawing a small circle at the top. Next, draw an oval shape vertically, touching the circle as shown in the drawing above. You can use a pencil to create this initial rough sketch.
Step 2: Draw Fair Outline

Now, outline the circle to represent the bat’s head and an oval for its body more accurately. Use the reference lines we drew earlier as a guide. For the bat’s wings, outline a curved line that initially goes upwards and then curves downwards as shown in the drawing above.
Step 3: Draw Bat Wings

Next, draw three straight curved lines descending from the wings and connect them as shown in the drawing above.
Step 4: Draw Ears and Legs

Likewise, draw a small oval-like shape for the bat’s legs and add two pointed ears at the top as depicted in the image above.
Step 5: Erase Rough Lines

Now, carefully erase the rough lines inside the head and ear as well as the lines inside the body and wings.
Step 6: Drawing A Bat Eyes

Finally, draw two small triangles inside the bat’s ears and draw two staring eyes as shown in the drawing above. Wow, we drew a scary and cute looking bat in just 6 steps.
Coloring a Bat
After completing the bat’s drawing, we can proceed with coloring. For coloring, we have chosen some basic colors.
Commonly bats are black so we colored bats to black. We use pink on the ears and orange on the feet of the bat. Feel free to fill in the colors according to your preference as well.
Color Details:
- Black
- White
- Orange
- Pink
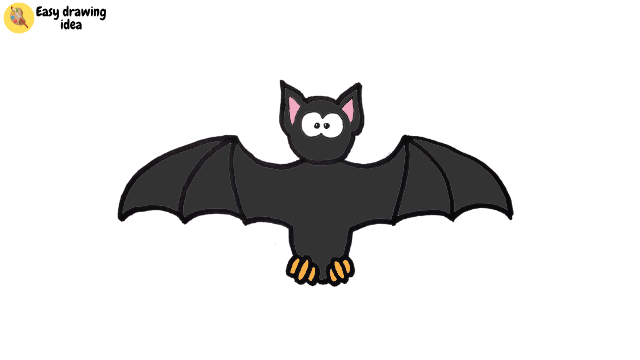
After coloring, we get a beautiful bat. You can use a pencil color (We made it digital).
Our Masterpiece is Ready
We have successfully drawn a cute bat and colored it. We hope you found our tutorial easy to follow.
This is how you can easily draw a bat with our step-by-step tutorial. Please leave a comment below if you found our tutorial helpful, and feel free to suggest a name if you have any requests or encounter any difficulties while drawing it.