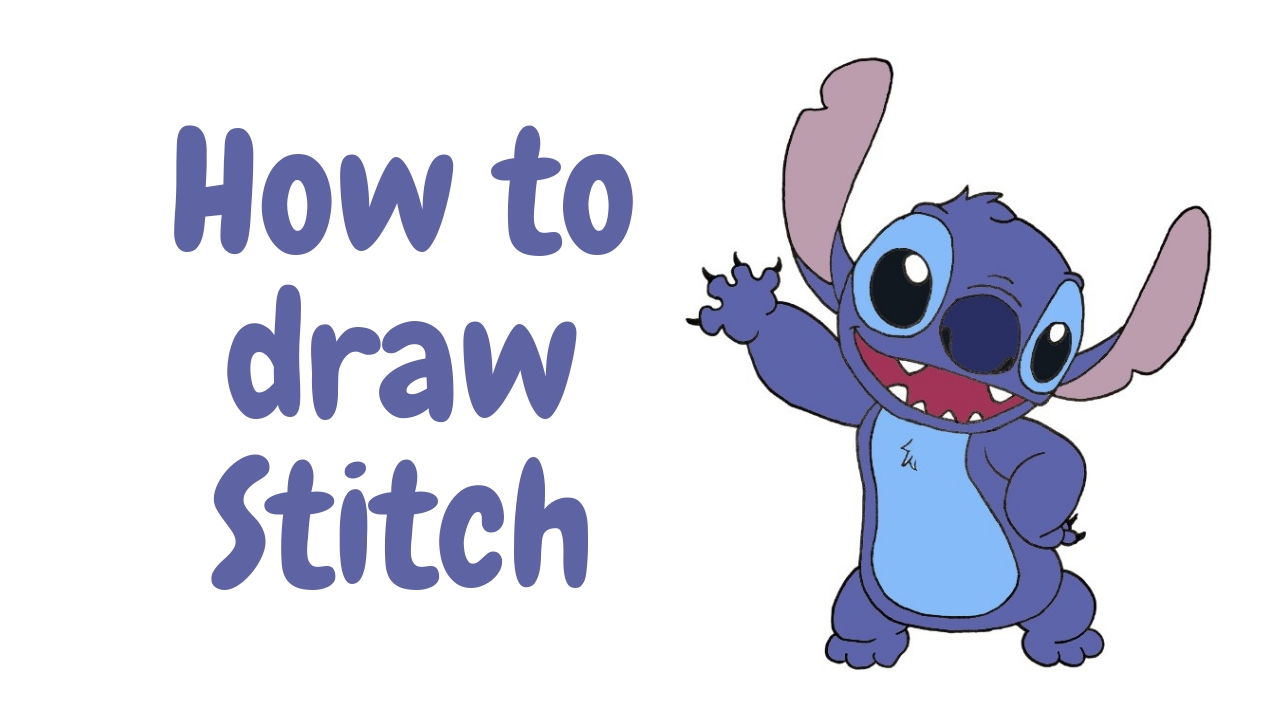
Stitch is a character from Disney’s animated movie “Lilo & Stitch,” released in 2002. Today, in this tutorial, we learn to draw Stitch in simple steps.
Stitch has become an iconic character in Disney’s lineup, beloved for his unique look, humorous antics, and heartwarming story. We hope you will enjoy our tutorial on drawing Stitch.
Art Materials & Equipment
- Drawing Paper
- Colors of Your Choices
- Pencil
- Eraser
- Sharpener
- Marker
- Pen
Steps To Draw Stitch
The picture below provides an overview of today’s drawing tutorial. This guide is for both beginners and experienced artists, and children can enjoy it fully. Follow the steps below.

Step 1: Draw The Basic Shape

Start by sketch a half-oval shape for the top of Stitch’s head, as in the picture, and add a curved line below it for the mouth.
Step 2: Outline The Eyes

Next, draw a vast oval from both ends of the curve for an outline of the eyes. Then, finish the oval for the character’s head.
Step 3: Sketch The Arms

As displayed in the image, raise the left hand upward and continue drawing the right arms, extending to the back side as if placing them in the back.
Step 4: Refine The Body

Sketch a pear-shaped body just below the head of the character. Then, add another line inside the body for details.
Step 5: Add Details To The Hands

Now, refine the shape of the fingers and thumb further, adding slight curves and definition to the knuckles on both sides of the hand.
Step 6: Outline The Left Ear

Now, draw a large, leaf-like shape for the ear from the corner of the head. This should be going upward, as shown in the image above.
Step 7: Right Ear

Again, repeat the process for drawing the left ear from the top right corner of Stitch’s head. Add details to make it more realistic.
Step 8: Sketch The Left Leg

Then, draw a line extending downward from the body for the leg, then add toes to create the proper look. Make sure it is pointed exactly where it should be.
Step 9: Right Leg

Again, draw lines for the right leg following the same process as drawing the left leg, then add toes in the right position.
Step 10: Draw The Eyes

Add details to the eyes with inner circles for pupils. As shown in the picture above, raise the pupils as if the character is looking upward. Also, add a fur-like texture in the middle of the body.
Step 11: Complete By Sketching Nose And The Teeth

Began by drawing a simple circle. Then, Add two small ovals on either side of the circle to represent the nostrils. Draw three short, curved lines extending upwards for details. Then, add small rectangles along the mouth line to indicate the teeth.
This will complete our drawing part. Let’s proceed to the colouring part to make the sketch more enjoyable.
Coloring The Stitch
Once the drawing of the Stitch is complete, start following the coloring process. We have selected some primary colors.
Firstly, the body of Stitch is filled with a deep shade of blue. Moving on to the inner part of the body and the eyes, a lighter blue color is applied. For details in the eyes, black is used, while white highlights are used for more realism. We have used maroon inside the mouth. The ears are coloured purple inside and dark blue outside. Finally, the nose is given a darker shade of blue to complete the coloring process.
Color Details
- Blue
- Light Blue
- Dark Blue
- White
- Black
- Purple
- Maroon

Our adorable Stitch is ready with big eyes and a smiley face. With our easy steps, we hope you can draw a stitch.
Finally, Our Artwork is Complete
We have completed the sketch of the Stitch. We hope you also enjoyed the different touches of the colouring and drawing.
If you enjoy it, then leave a comment. Also, if you have any feedback, requests, or questions, please share them with us. We value your input and look forward to hearing from you!


